Set Up Your Client
You can collect customer payment information via the client SDK in a number of ways:
Android SDK setup
In your app's build.gradle, add the following:
- Groovy
dependencies {
  implementation 'com.braintreepayments.api:drop-in:'
}
For other installation techniques and notes, see the Android Client SDK Guide.
Get a client token
Client tokens are optional: You can initialize Braintree with a tokenization key instead of a client token. If you are using a tokenization key, you may skip this section and use the tokenization key for your authorization instead.
Your server is responsible for generating a client token, which contains the authorization and configuration details that your client needs to initialize the client SDK.
Request the client token from your server, then initialize Braintree and present drop-in UI (this example uses Android Async Http Client to request a client token from your server - adapt to your own setup):
- Android
AsyncHttpClient client = new AsyncHttpClient();
client.get("https://your-server/client_token", new TextHttpResponseHandler() {
  @Override
  public void onSuccess(int statusCode, Header[] headers, String clientToken) {
    this.clientToken = clientToken;
  }
});
You should obtain a new client token often, at least once a day or as often as your app restarts. For the best experience, you should kick off this network operation before it would block a user interaction.
Try it now
So you can jump right in we generated a tokenization key for you. This is for testing purposes only! When you're ready to build your own integration, use your own tokenization key or generate your own client token.
- Android
public void onBraintreeSubmit(View v) {
DropInRequest dropInRequest = new DropInRequest()
.tokenizationKey("sandbox_f252zhq7_hh4cpc39zq4rgjcg");
startActivityForResult(dropInRequest.getIntent(this), REQUEST_CODE);
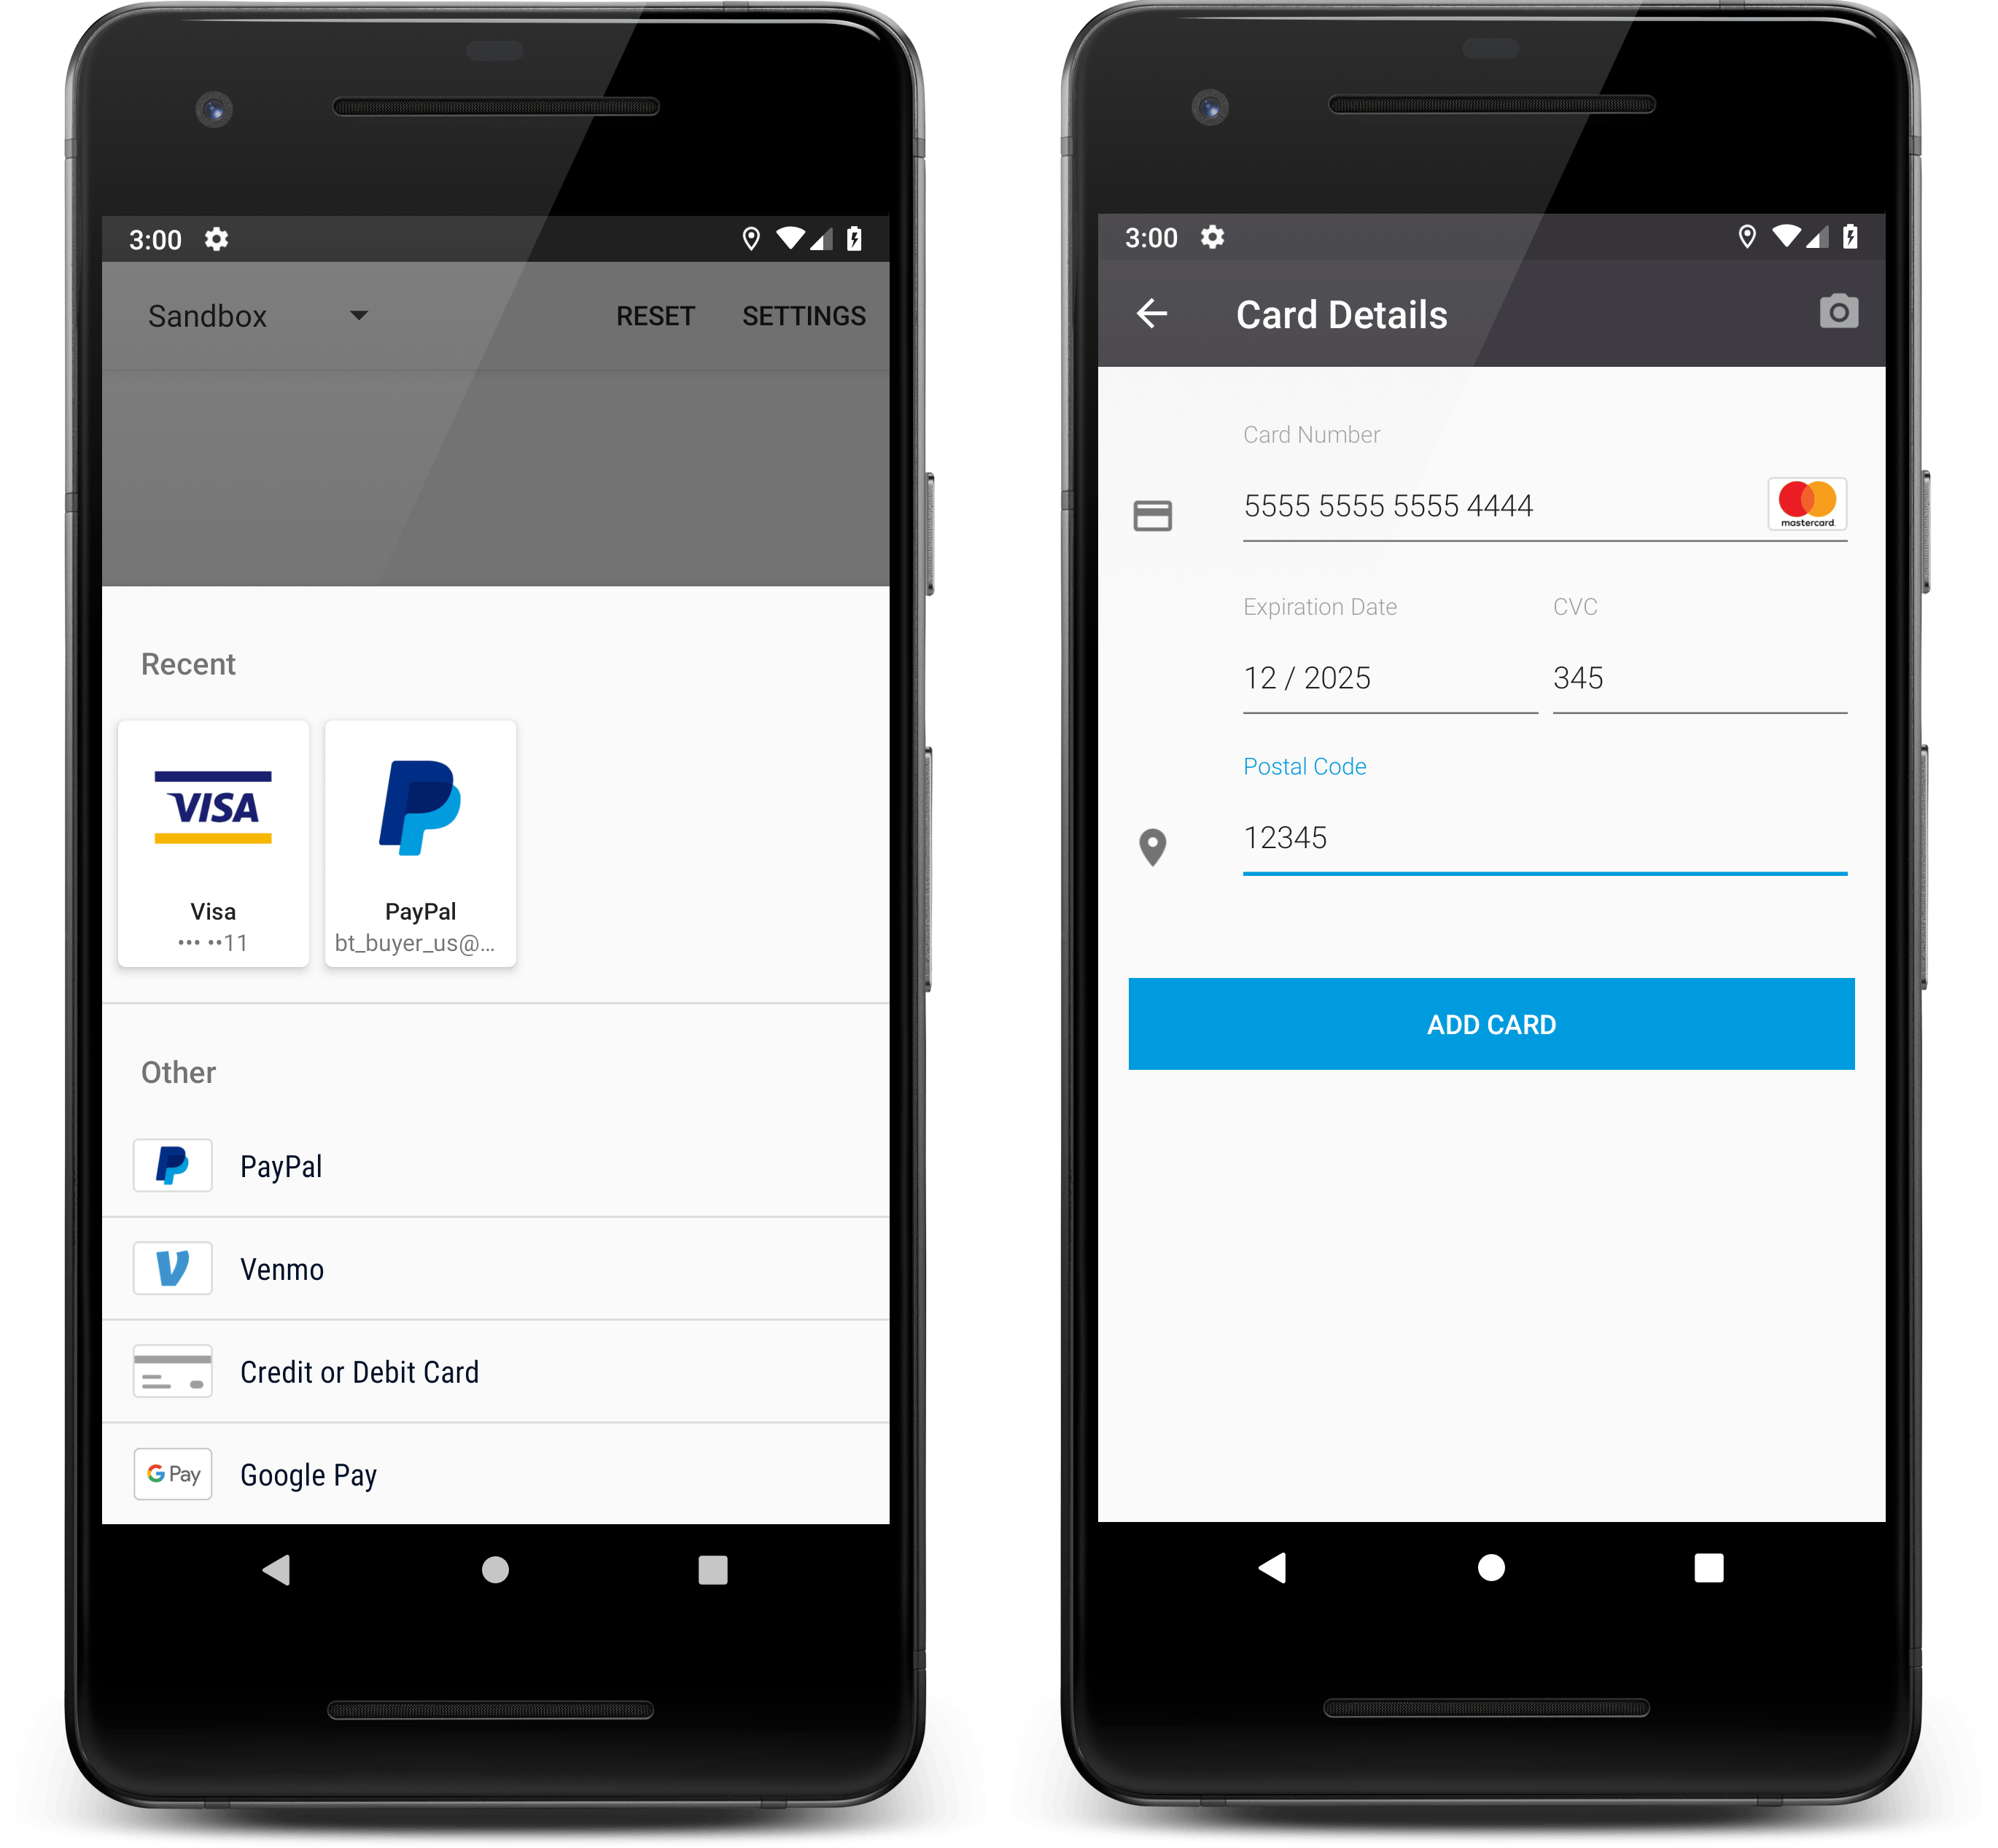
}Present Drop-in UI
At this point, you are ready to collect payment information from your customer.
Drop-in is the easiest way to get started. It provides a fully fledged payments experience out of the box. You can also choose to create a custom UI and then tokenize the payment information directly.
To handle the result of the Drop-in flow, you should override onActivityResult.
- Android
@Override
protected void onActivityResult(int requestCode, int resultCode, Intent data) {
  if (requestCode == REQUEST_CODE) {
    if (resultCode == RESULT_OK) {
      DropInResult result = data.getParcelableExtra(DropInResult.EXTRA_DROP_IN_RESULT);
      // use the result to update your UI and send the payment method nonce to your server
    } else if (resultCode == RESULT_CANCELED) {
      // the user canceled
    } else {
      // handle errors here, an exception may be available in
      Exception error = (Exception) data.getSerializableExtra(DropInActivity.EXTRA_ERROR);
    }
  }
}
Test your integration
Create a sandbox account
If you haven't already, sign up for a free Braintree sandbox account:
Sign Up for a Braintree Sandbox AccountLog in to obtain your sandbox API credentials. You'll need your:
- Sandbox merchant ID
- Public key
- Private key
Use these credentials for your development and testing.
Test values
When testing in the sandbox, be sure to use our test card numbers (e.g. 4111111111111111) and
nonces (e.g. fake-valid-nonce). Real payment method data will not work in the sandbox. See our
Testing page for more details.
Send payment method nonce to server
Send the resulting payment method nonce to your server (this example uses Android Async Http Client - adapt to your own setup):
- Android
void postNonceToServer(String nonce) {
  AsyncHttpClient client = new AsyncHttpClient();
  RequestParams params = new RequestParams();
  params.put("payment_method_nonce", nonce);
  client.post("http://your-server/checkout", params,
    new AsyncHttpResponseHandler() {
      // Your implementation here
    }
  );
}
world.greeted = true
At this point, you should have a working client-side checkout flow. When your user provides payment information, you receive a payment method nonce and send it to your server.
Next, your server closes the loop by using the payment method nonce to create a transaction.
Next Page: Simple Server →